Last Updated on May 3, 2025 by SPOTKEYS
How Do You Change Margins on Google Docs – How to Easily Change Margins on Google Docs
Google Docs is a powerful tool for creating and editing documents online. Whether you’re working on a school project, creating a business proposal, or collaborating with colleagues, Google Docs has everything you need to get the job done. One of the great features of Google Docs is the ability to easily change margins. In today’s tutorial, we’ll show you how to do just that.
Step 1: Access Page Setup
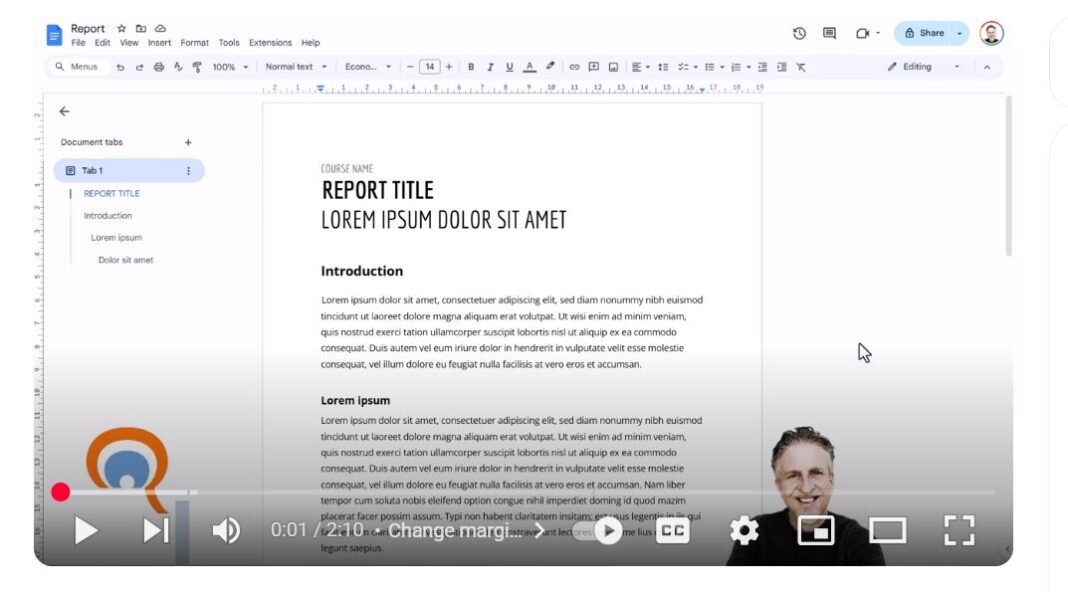
To change margins in Google Docs, first open the document you want to edit. Then, click on “File” in the top menu bar and select “Page Setup” from the drop-down menu. This will bring up a dialog box where you can make changes to your document’s margins.
Step 2: Adjust Margin Settings
In the Page Setup dialog box, you’ll see options for changing margins on your document. You can adjust the top, bottom, left, and right margins by typing in the desired measurement. For example, if you want to change the left and right margins to 5 cm, simply type “5” in the boxes next to “left” and “right.” Once you’re satisfied with your changes, click “OK” to save them.
Step 3: Set Default Margins
If you want these changes to apply to all new documents going forward, you can set them as default. While still in the Page Setup dialog box, click on “Set as default” before clicking “OK.” Now, every new document you create on Google Docs will automatically have these margin settings.
Note: Be mindful of your selection.
It’s important to note that when using the Page Setup dialog box, by default it applies changes to the entire document. However, if you have a specific section of the document selected when accessing Page Setup, it will only apply changes to that particular section. To ensure that your changes apply to the entire document, make sure the “whole document” option is selected in the dropdown menu before making any changes.
Step 4: Use the Ruler for More Control
If you want to have more control over the margin settings and apply them to specific paragraphs, you can use the ruler feature. To access the ruler, go to “View” in the top menu bar and select “Show ruler.” This will bring up two indent markers – one for the left margin and one for the right. Clicking on these markers and moving them will adjust the margin settings for that specific paragraph. You can also select multiple paragraphs and adjust the margin settings simultaneously by using the ruler.
Conclusion
Changing margins on Google Docs is a simple and straightforward process. Whether you want to change the default margins for all new documents or make adjustments to specific paragraphs, Google Docs has you covered. By following these easy steps, you can ensure that your document looks polished and professional every time.
We hope this tutorial has been helpful in showing you how to change margins on Google Docs. If you found it useful, please give us a thumbs up and subscribe for more tutorials just like this one. Thanks for reading and happy editing!


