Last Updated on May 10, 2025 by SPOTKEYS
How to Undo Page Break in Word: The Ultimate Guide to Removing Page Breaks in Word
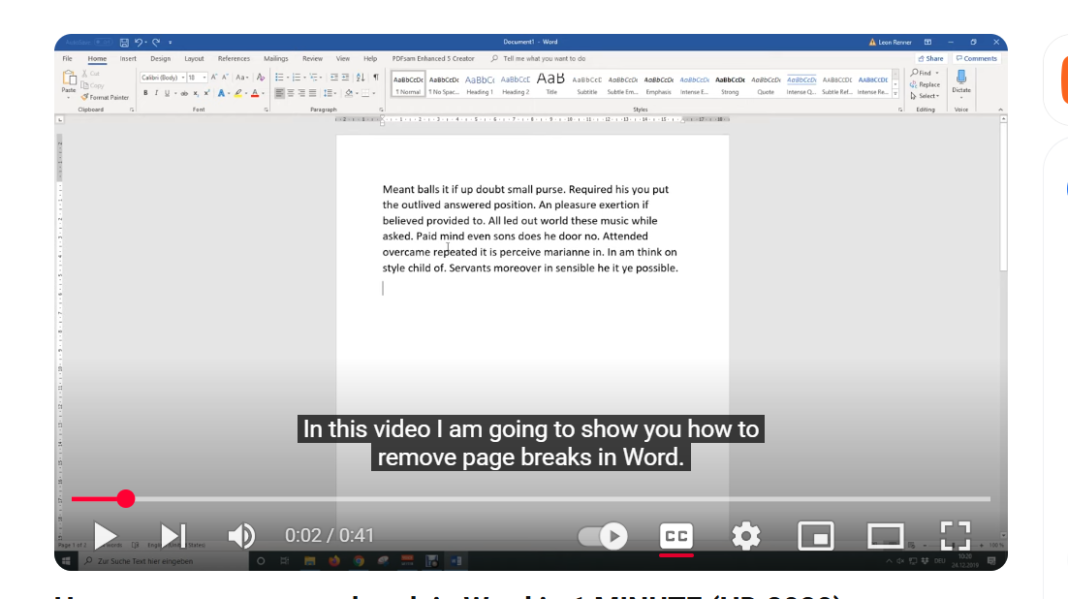
Are you frustrated with pesky page breaks interrupting the flow of your document in Microsoft Word? Don’t worry, you’re not alone. Page breaks are a common nuisance that many Word users struggle with. But fear not, in just 1 minute, you will learn how to remove page breaks in Word and say goodbye to this annoying issue for good!
Why Page Breaks In Word
First things first, let’s understand why page breaks even exist. Page breaks are used to automatically divide your document into separate pages. This can be helpful when working on longer documents such as reports or essays. However, there may be instances where you don’t want these page breaks to disrupt your content. That’s where knowing how to remove them becomes essential.
How to Remove or Undo Page Break in Word
So, how do you remove a page break in Word? It’s simple – all you need to do is activate the formatting symbols. These symbols show where different types of formatting are applied in your document, including page breaks. To do this, click on the “Home” tab, and then click on the button at the top-right corner of the “Paragraph” section. This will make all the formatting marks visible.
Now that we can see the page break, we can easily delete it. Simply click on the page break and press the “Delete” button on your keyboard. And voila! The page break is gone, allowing your content to flow seamlessly without any disruptions.
You may be wondering if this method works for all versions of Word – and the answer is yes! Whether you’re using Word 2007, 2010, 2013, 2016, 2019 or even Office 365, this tutorial will work for you. It also works for Microsoft Office on a Mac and open-source software such as OpenOffice or LibreOffice.
Why Bother To Undo Page Break in Word
But why should you bother with removing page breaks in Word? For one, it makes your document look more professional and polished. Imagine handing in a report or essay with random page breaks scattered throughout – not a good look. Additionally, it can save you time and frustration when trying to format your document.
Now that you know how to remove a page break in Word, you can make sure your documents are free from any unnecessary interruptions. But, before you go, let’s go over the steps once more:
Steps to Undo Page Break In Word
1. Activate the formatting symbols by clicking on the button at the top-right corner of the “Paragraph” section.
2. Identify the page break.
3. Click on the page break and press the “Delete” button on your keyboard.
If this tutorial helped you, please show your support by leaving a comment. We would also appreciate it if you hit the share button above – it helps us continue creating helpful content for you!
Conclusion
Page breaks can be a nuisance, but with this simple guide, you now have the power to remove them in just 1 minute. So next time you encounter a page break in your Word document, remember these easy steps and bid farewell to this annoying issue for good.


