Last Updated on May 11, 2025 by SPOTKEYS
How Do You Deactivate Facebook Account – How to Temporarily Deactivate Your Account
Are you wondering how to deactivate your Facebook account on your Windows PC, MAC or Smartphone? Are you looking for a break from the constant notifications, updates, and scrolling through your Facebook feed? Deactivating your account on this social media platform may be the perfect solution for you. In this tutorial, we will show you how to temporarily deactivate your Facebook account, giving you a much-needed break from the online world.
Why should you deactivate your Facebook account?
There are many reasons why someone may want to temporarily deactivate their Facebook account. It could be due to feeling overwhelmed by the constant stream of information or simply wanting to disconnect from social media for a while. Whatever the reason may be, deactivating your account is a simple and effective way to take a break.
What happens when you deactivate your Facebook account?
When you deactivate your Facebook account, your profile, along with all of your posts and information, will become hidden from other users. This means that people will no longer be able to search for you or see any of your content. However, some information, such as messages you have sent to other users, may still be visible.
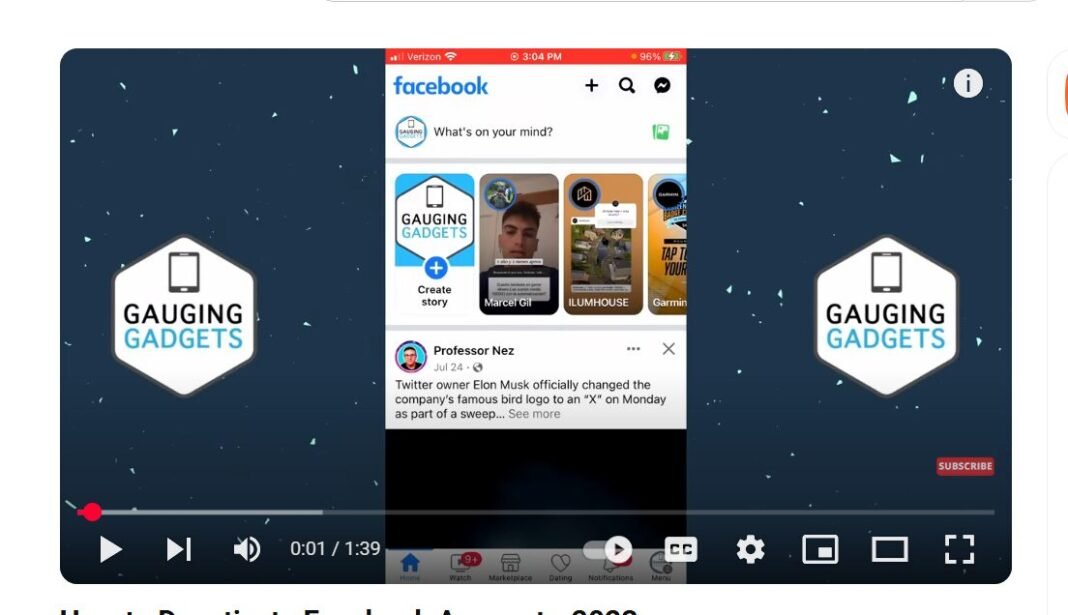
How Do You Deactivate Facebook: How to deactivate your Facebook account
Deactivating your Facebook account is a straightforward process that can be done in a few simple steps.
Step 1: Open the Facebook app
First, open the Facebook app on your iPhone or Android phone.
Step 2: Access the settings
Next, tap on the menu button in the bottom right corner of the app. Then, tap on the gear icon in the top right corner to access the settings.
Step 3: Go to “Account Centre”
Once in the settings, scroll down and tap on “See more” under “Account Centre.”
Step 4: Access personal details
Tap on “Personal details” under “Account Settings.”
Step 5: Select “Deactivation or deletion”
In “Personal details,” select “Account ownership and control” and then choose “Deactivation or deletion.”
Step 6: Choose the account to deactivate
Select the Facebook account you want to deactivate.
Step 7: Choose “Deactivate account”
Make sure “Deactivate account” is selected, then tap on “Continue.”
Step 8: Enter password and confirm deactivation
You will be prompted to enter your password and then tap on “Continue” again to confirm the deactivation.
Once you have completed these steps, your Facebook account will be temporarily deactivated.
Things to keep in mind when deactivating your account
- Any Facebook pages that you are the owner or sole administrator of will also be deactivated.
- Deactivating your account does not automatically delete it. You can reactivate your account at any time by logging back in.
- Some information, such as messages sent to other users, may still be visible.
- Deactivating your account will not affect your Messenger account.
Final thoughts
Deactivating your Facebook account is an excellent way to take a break from the constant connection to the online world. It is a simple process that can be done in just a few steps, and you can easily reactivate your account when you are ready to return. So, say goodbye to Facebook for a while and enjoy some time away from social media.


