Last Updated on April 24, 2025 by SPOTKEYS
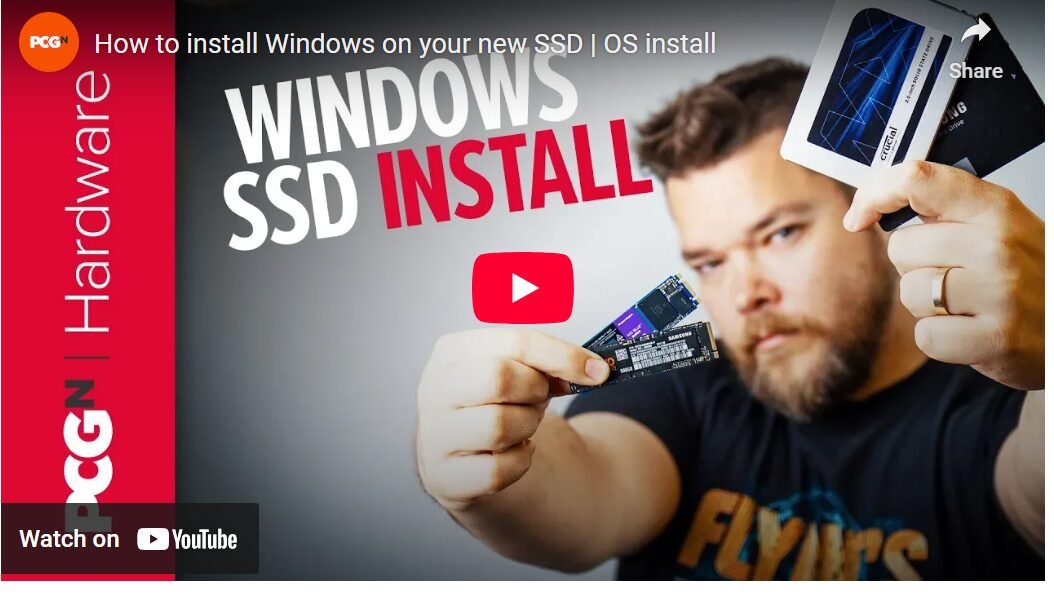
How to Install Windows Operating System on a New Hard Drive: A Guide to Installing Windows on Your New SSD
Are you tired of slow load times and laggy gameplay on your gaming PC? Upgrading to a solid-state drive (SSD) can make all the difference. Not only can you boot your games from your SSD, but installing the entire operating system on it can speed up your entire system. In this guide, we’ll walk you through the process of installing Windows on your new SSD for maximum gaming performance.
Why choose an SSD over a traditional hard drive? For starters, an SSD has no moving parts, making it much faster and more reliable than a mechanical hard drive. It also uses less power, runs cooler, and is smaller and lighter. And with the dropping prices of SSDs, now is the perfect time to upgrade.
Types of SSDs
Before we dive into the installation process, let’s briefly touch on the types of SSDs you might encounter. The most common type is a standard 2.5 inch SATA SSD, which can easily be swapped in for a hard drive without any extra steps. On the other hand, M.2 NVMe drives offer even faster speeds but may require special UEFI drivers to be preloaded during the installation process. Make sure to check compatibility between your chosen SSD and motherboard before proceeding.
How to Install Windows on Your New SSD
Now, onto the installation process. If you’re planning on replacing your old Windows installation completely, be sure to have your Windows license key on hand. If you can’t find it, try linking your current key to your Microsoft account so you can easily reactivate it after the fresh install. You can also use a free software like Produkey to scan your old hard drive and retrieve the key from there.
Next, head to Microsoft’s website and download the Media Creation Tool. This will allow you to create a bootable USB drive with the latest version of Windows. You’ll need at least an 8GB USB drive for this step. Once the tool is downloaded, run it and follow the prompts to create your installation media.
Now it’s time to physically install your new SSD. Make sure it’s the only drive connected to your motherboard for now. Then, reboot your PC and access your BIOS by pressing the designated key on startup. From there, navigate to the boot section and select the option to boot from your USB drive. If there are two options, choose the one with “UEFI” in front.
After confirming your localization settings, you’ll be asked for your Windows license key. Enter it if you have it, or proceed without one if you plan to reactivate later. Make sure to select the correct version of Windows for your key (e.g. Home or Pro) and agree to the license terms. Next, choose a custom install and follow the prompts to create a new partition on your SSD. If you’re using a previously used drive, you may need to delete old partitions before creating a new one.
Once the partition is set up, simply select it and click “Next.” The installation process will then begin and can take anywhere from 10 minutes to an hour, depending on your system’s specs. Windows should automatically install all necessary drivers during this time, but keep your motherboard’s network drivers handy just in case.
After the installation is complete, make sure to check for any pending Windows updates and download them before proceeding with setting up your system. You can also transfer over any files or programs from your old hard drive if needed.
Congratulations, you now have a brand new Windows installation on your super fast SSD! With the operating system and all its necessary files on the SSD, you should see a significant improvement in overall system performance and load times for your games.
Summary
Investing in an SSD for your gaming PC can be a game-changer (pun intended). It’s easy to install and can greatly improve your gaming experience. Just make sure to have your Windows license key on hand and follow the steps outlined in this guide. Happy gaming!


