Last Updated on April 25, 2025 by SPOTKEYS
How To Split Screen In Windows 11 – A Guide
Are you tired of constantly switching between multiple open applications on your computer? With the new split screen feature in Windows 11, multitasking has never been easier. This new feature not only allows users to view multiple applications at once, but also offers an improved and more intuitive system for organizing them.
Previously, in Windows 10, users were able to drag and snap applications to create a split screen view. While this function still exists in Windows 11, there is now an additional system called snap layouts that offers even more efficiency for multitaskers. But before we get into that, let’s make sure snap layouts are enabled on your device.
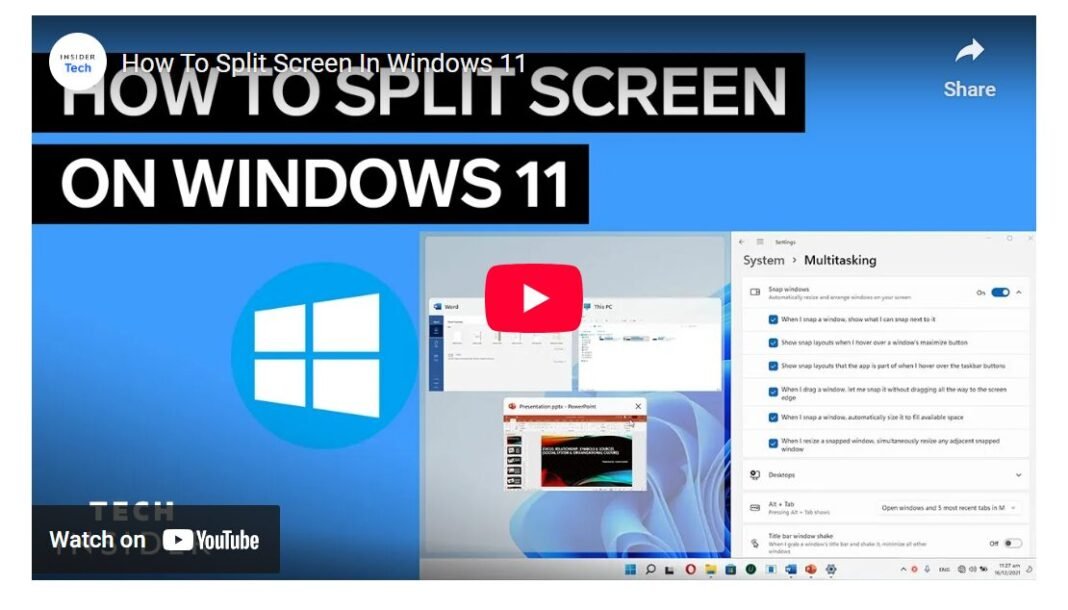
How to make sure snap layouts are enabled on your device
To check if snap layouts are active, simply open the settings menu and click on the “System” category. From there, select “Multitasking” and make sure the toggle for snap windows is switched to the on position. Now you’re ready to take full advantage of this seamless multitasking experience.
To start using split screen in Windows 11, simply hover over the maximize button on any open window. This will reveal the snap layouts options, which include two, three, and four-panel layouts. Depending on how many windows you want to view at once, select the desired layout and click on the corresponding space. For example, if you choose the two-panel option and click on the right half of your screen, the current window will snap to the right side and fill the left side with other open windows. You can then click on any of these windows to have it fill that space.
But that’s not all – with the three- or four-panel layout options, you can snap your current window into one space and select other active windows to fill the remaining spots. This makes it incredibly easy to work on multiple projects at once or monitor different applications simultaneously.
And for those who prefer a more hands-on approach, you can still manually drag and rearrange windowed applications by clicking and holding the menu bar on them and moving them to your desired position.
So why is this new split screen feature so useful? First and foremost, it allows for a more efficient use of screen space. Instead of constantly switching between different applications, you can now view them all at once in a neatly organized layout. This is especially helpful for tasks that require referencing multiple sources or working on multiple projects at once.
Additionally, snap layouts offer a more user-friendly experience. With the single click of a button, you can easily snap your windows into different layouts without the hassle of manually resizing and arranging them. This feature is perfect for those who like to keep their computer desktop clean and organized.
But perhaps the best part about split screen in Windows 11 is its adaptability. Whether you’re using a laptop, tablet, or desktop computer, this feature works seamlessly across all devices. This means you can be just as productive on-the-go as you are at your desk.
Conclusion
the new split screen feature in Windows 11 is a game-changer for multitaskers. With its easy-to-use snap layouts, efficient use of screen space, and adaptability to different devices, this feature truly enhances the productivity of any user. So why settle for one application at a time when you can have a split screen view with Windows 11? Give it a try and see for yourself – you won’t be disappointed.


